
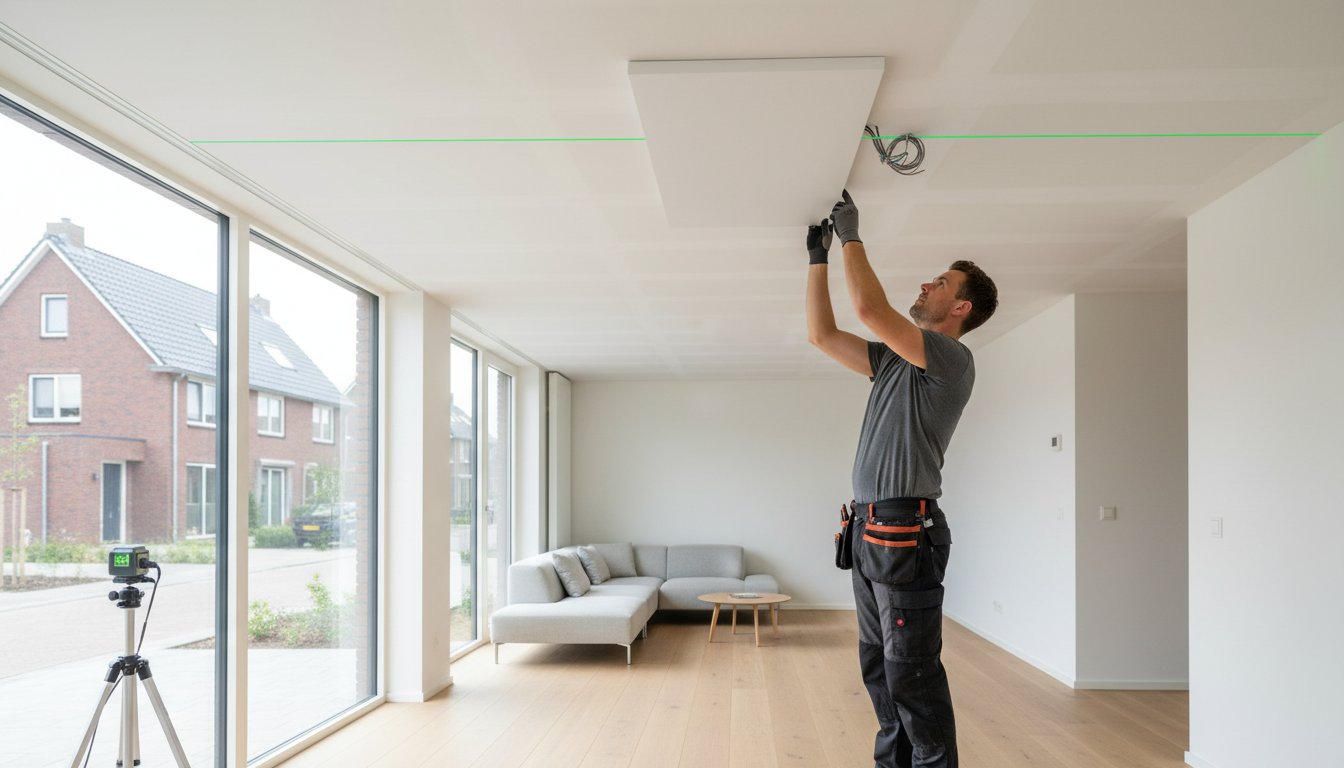
Installing an infrared panel starts with the chosen model and a suitable heating plan. This guide covers preparation, fixing and connection checks and control selection. The exact installation manual takes precedence: drill size, clearances, maximum height and electrical connection differ between panels.
Key considerations
Before installation check model, output, weight, supplied parts and permitted orientation. Assess the structural substrate and complete electrical load. Record planned positions and connections. Have uncertain fixings, fixed connections and installation alterations assessed by a suitably competent professional.
Preparation: appliance, room and documents
First decide whether the panel provides local supplementary heat or full room heating. Match output to heat loss, insulation, windows, ventilation, temperature and usage times. A fixed W/m³ value or building age alone is insufficient. Obtain the model manual, technical data and connection plan. Check which brackets, restraints, receivers and cables are actually supplied; compatible accessories are not automatically included.
Choose the mounting position around actual use
Radiant heat can reach people and surfaces; the panel also gives off convective heat. Plan around the occupied zone and account for furniture, curtains and other obstructions. Ceiling mounting is not best for every room and is permitted only for suitable models. Use specified clearances and height; there is no universal 170-degree angle or fixed distance from walls, lights and furniture. Windows, exposed surfaces and cold areas belong in the full design assessment.
Organise installation into checkable stages
1. Check substrate, structural capacity and concealed services before marking or drilling. 2. Choose fixings for the actual structure and model load; a generic plug size or load per point does not prove the complete fixing safe. 3. Fit and restrain the panel according to the manual, with appropriate support while lifting. 4. Have supply, cable routing and controls installed according to the wiring plan. 5. Check fixings, cables, controls and specified operation before commissioning and retain documents.
Do not work on an energised connection. Switching off or using a simple voltage indicator alone is not a complete work procedure; have work appropriately prepared and absence of voltage verified. The right circuit depends on all loads, cables and protection, not a fixed number of panels. A plug or junction box does not permit every connection. Keep cables clear of hot parts, sharp edges and pinch points. For timber, plasterboard and suspended ceilings, follow the exact appliance and structure requirements.
Match controls, sensors and load
Compare built-in, wired, plug-in and wireless controls for the actual application. Check switching capacity, output, receiver, gateway and any contactor. Several panels on one thermostat require a design based on total load and zones; a fixed 3600 W limit or four to six panels does not apply to every controller. Position the sensor as specified, avoiding disturbance from panel radiation, sunshine, draughts and other heat sources. Wireless communication does not replace power wiring.
Weekly schedules, geofencing, presence and window detection depend on the model and are not standard in every system. Check the app, network and approval for external automation; a generic smart plug is not automatically suitable for a heating load. Controls can limit unnecessary on-time but do not guarantee savings. A 600 W panel uses about 0.6 kWh in one hour of continuous operation; daily or annual on-time depends on your demand and usage.
Support for your installation plan
We help private and business end users, installers and wholesalers with selection and preparation. Send model codes, a floor plan, mounting-position photos and insulation and usage details. Discuss the existing electrical installation and any building controls too. High halls, damp rooms or unusual substrates require individual assessment; the same indoor panels do not automatically suit every setting.
Record the plan before installation
Record product choice, fixing, supply, controls and checks before ordering or drilling. Seek clarification for conflicting instructions or missing components. Confirm maintenance and warranty terms too; simple construction does not remove the need for inspection and cleaning.
Frequently asked installation questions
Can the panel be mounted on timber or in a bathroom? Only if the model and complete installation are suitable; rear insulation or an IP code alone does not establish this. How should it be tested? Follow specified checks and operating conditions, not a generic temperature or ten-minute test. What if it seems too cool? First check settings, compatibility, supply and original demand; do not alter wiring, protection or internal parts to obtain more heat.