
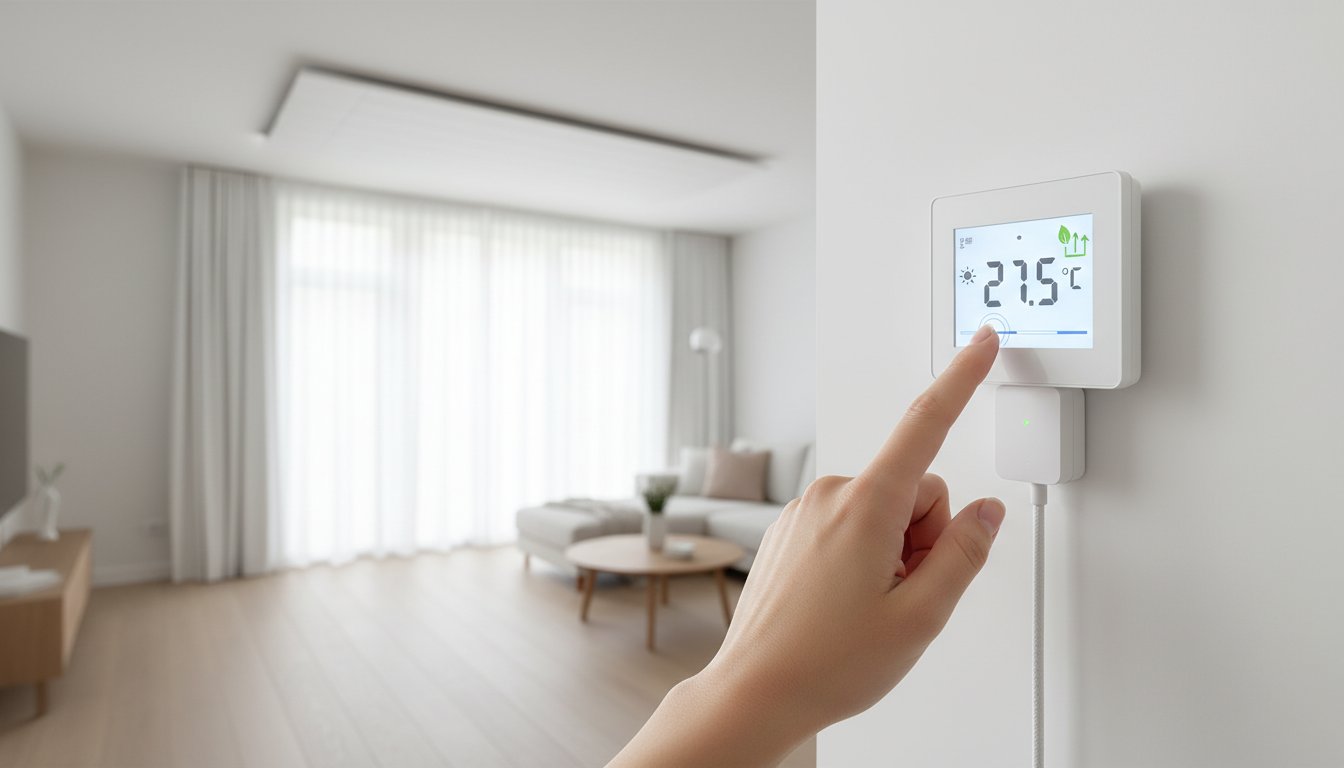
Illustration: the temperature display has been added and is not a measurement result or a recommended setting. Choose a suitable setting for your room and use.
Setting a thermostat for an infrared panel starts with the right combination of panel, controls and receiver. Check the manuals first: not every thermostat can switch every panel directly. Then match the measurement position, desired temperature and usage times to the room.
A good programme helps limit unnecessary heating but does not guarantee a fixed percentage saving or a lower bill than other heating systems. Consumption also depends on insulation, heat loss, output, comfort preferences and outdoor temperature. This guide moves from basic settings to targeted checks when problems occur.
Key points
Check compatibility and switching load, choose a representative measurement position and start with a simple programme. Then change one setting at a time. Use only functions your model actually supports, and have electrical connections assessed by a competent installer.
What does the thermostat measure and control?
A room thermostat usually measures air temperature at its sensor and calls for heat when its control logic requires it. The panel emits heat through both radiation and convection. Perceived warmth therefore depends not only on the display reading but also on surface temperatures, position and distance from the panel, air movement and clothing.
Hysteresis, PID and adaptive start
With on-off control, the switching differential determines when heating starts again. Manufacturers define hysteresis differently: a value may mean a total band or a deviation on one side of the set temperature. Do not therefore apply universal switching-on and switching-off temperatures. A smaller differential can cause more frequent switching and does not automatically save energy or extend service life.
Some models use PID, time-proportional control or adaptive start. These functions can adjust heat demand or starting time, but implementation varies by appliance. A relay-controlled receiver may switch the panel in time intervals rather than continuously reduce its electrical power. Follow the manufacturer’s settings for your panel and controls.
Choose suitable controls
A plug-in thermostat, wired room thermostat, RF set or Wi-Fi control may suit the panel and installation. Check output type, supply voltage, permitted load and supported receivers. The same brand, radio frequency or app does not by itself prove compatibility. With multiple panels, total load and zoning must also be correct.
Do not confuse smart functions with a general quality mark or a fixed legal checklist for every application. When purchasing, ask for current product documentation and the prescribed combination of heating and controls. Wi-Fi, voice control, open-window detection and consumption display are not present on every model. An app may also show an estimate rather than measured electricity consumption.
Steps for the initial settings
1. Check installation and measurement position
First have the combination checked for electrical suitability and correct connection. Choose a representative sensor position according to the manual, away from direct sun, draughts and other heat sources. Do not mount the sensor where only the panel or a cold wall strongly influences its reading. Prescribed height and distance vary by model.
2. Pair and check basic functions
Set date, time and the correct operating mode. Pair a wireless receiver using the manual’s procedure, and create a heat demand to check that the intended panel responds. Also check that it switches off again. A radio symbol or online status does not prove the electrical output actually switches. Have the installation checked if behaviour is unexpected.
3. Make a simple weekly programme
Note when the room is used and choose a comfortable set temperature for those times. Choose an appropriate setback during absence, considering the building, moisture, existing pipes and other requirements. There is no universal advice to always stay above 15 degrees or reduce by at most three degrees. A study does not need one fixed schedule either: adapt the programme to actual working hours.
4. Observe and adjust selectively
On representative days of use, check whether the room is comfortable on time. Adjust starting time or temperature separately each time. Allow for different weather when comparing consumption. Adaptive start can help if supported by the model, but does not guarantee exactly the same warm-up time in all circumstances. Use suitable electricity measurement to assess actual consumption.
Installation, load and damp rooms
Check the combined output of all connected panels against the receiver’s permitted switching load and load type. An ampere rating does not give general permission to connect every combination. Installation, protection, cables and any additional switching equipment must also be suitable. Have fixed connections and changes carried out by a competent installer.
For a bathroom, assess panel, thermostat and receiver separately. An IP rating alone does not prove an appliance can be placed anywhere. The exact zone, mounting position, product instructions and electrical installation together determine what is permitted. Double-insulated equipment also has application limits; class II is not a universal requirement or an exemption from other safety measures.
Advice on your panel and controls
We help private and business end users choose panels and suitable controls. Installation companies and wholesalers can also contact us for product information and project advice. Send panel and thermostat types, panel quantity, a photo of the arrangement and, if available, a floor plan. This lets us advise more specifically on options and required checks.
Keep controls practical and verifiable
Keep the manual and record chosen settings. After a seasonal change, power interruption or change of use, check that time, programme and pairing remain correct. Keep the sensor clean according to instructions, replace batteries when the appliance requests it and check for visible damage. Low maintenance is not maintenance-free.
Frequently asked questions
Why does a separate thermometer show a different reading?
First compare in the same position and let both sensors settle. Differences may result from measurement position, response time or accuracy. Apply a temperature correction only if the manual allows it and the deviation is substantiated. Do not compensate for an unsuitable sensor position simply by setting a large offset.
Can one thermostat control several panels?
It can with a suitable combination. Check the maximum number of receivers, communication, total output and electrical circuit. One controller for different rooms is not automatically appropriate because heat demand varies by room. Have expansion and any additional switching equipment assessed beforehand.
Should the thermostat be lower than with central heating?
No fixed reduction gives everyone the same comfort. Start with a suitable temperature and assess comfort at the occupied position. A lower setpoint can reduce heat demand, but the result depends on room, arrangement and use. Do not reduce it at the expense of necessary protection against moisture or frost.
Does a much higher setting warm the room faster?
Not with ordinary on-off control: the higher setting does not make the operating panel more powerful, but keeps calling for heat longer before reaching the set temperature. Choose the desired temperature and adjust starting time if necessary. For other control principles, follow the manual for the specific combination.
What if the room does not become warm enough?
First check mode, programme, set temperature, batteries and connection to the receiver. Then check whether panels actually deliver heat. Insufficient heating capacity, unsuitable positioning or major heat loss cannot be solved with a higher offset or different hysteresis. Ask us or your installer to assess the combination and heat demand.