
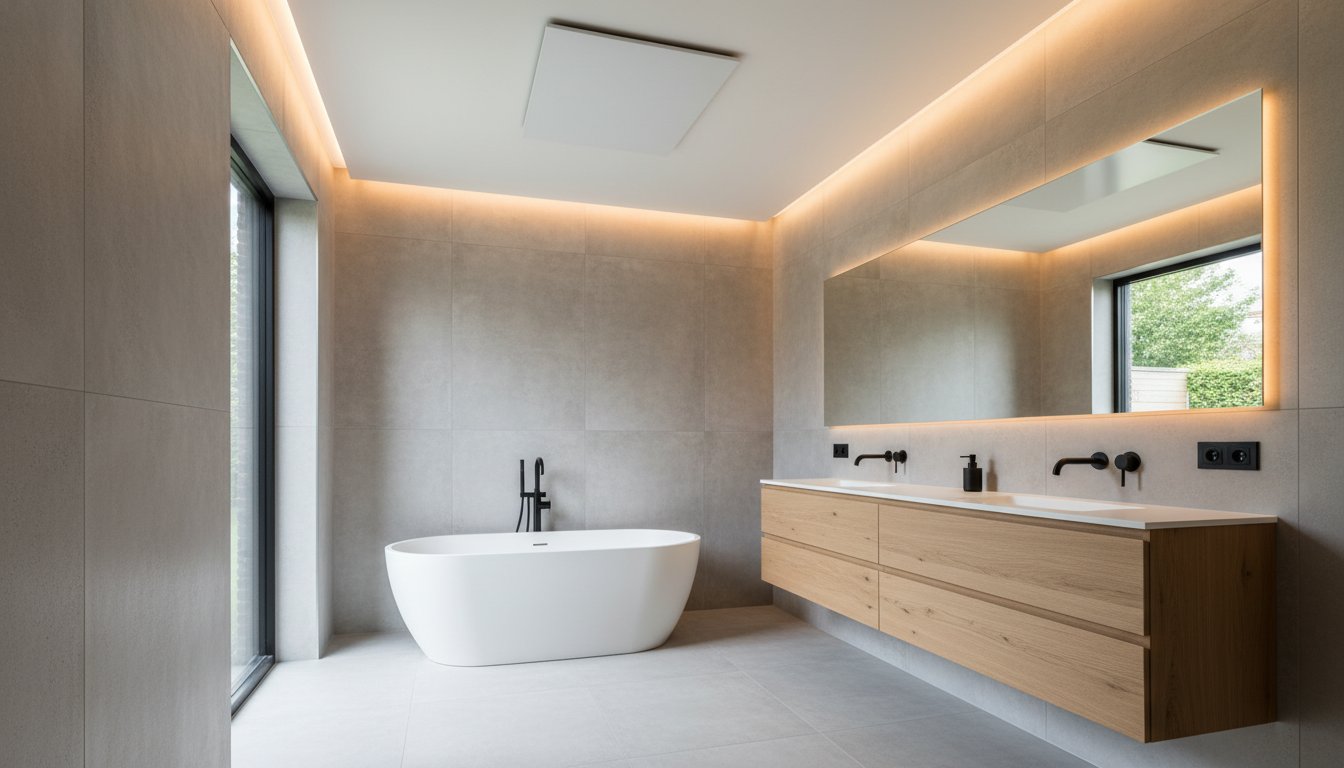
An infrared panel on the bathroom ceiling keeps wall space free and can provide warmth where you dry yourself or get dressed. Choosing the right model starts with the bathroom layout, the ceiling and a model approved for this application. Ceiling mounting is not the best solution in every bathroom and does not automatically prevent condensation.
Key points
Have the permitted mounting position, fixings, electrical connection and controls assessed together. Consider shower screens, ceiling height, ventilation and when you want to use the room. Choose output based on heat loss and the objective: additional warmth or heating the entire bathroom.
What can ceiling heating add?
The warm panel radiates towards people and surfaces it can reach. Convection also occurs and the air warms up too. A ceiling position may be less obstructed by low furniture, but tall cabinets, shower screens and room geometry affect coverage. Assess the radiation path to the places actually used.
Moisture and ventilation remain part of the plan
A warmer surface may be less prone to condensation, but the effect depends on surface temperature, humidity and exposure to radiation. A ceiling panel does not guarantee a dry floor, clear mirror or mould-free grout. Remove moisture through suitable ventilation and investigate leaks or cold spots if problems persist.
Suitability for the bathroom
The complete installation must suit the mounting position and exposure to moisture. Have the required protection determined from the model, operating conditions and complete connection. An IP code alone does not establish general suitability above a shower or bath. The manual may exclude an application even when the IP code appears suitable at first sight.
Have a qualified installer assess the electrical installation and protective measures. Include junction boxes, cables, sensors and any lighting. Choose materials and finishes the manufacturer permits for bathrooms; aluminium, glass or steel alone does not guarantee protection against every moisture or corrosion problem.
Ceiling or wall: compare the arrangements
Compare both options for an unobstructed radiation path, comfort, fixings and accessibility. With ceiling mounting, distance from the head also matters. Permitted height and clearances differ by panel. There is no universal mounting height or radiation angle that heats every bathroom evenly.
A floor can absorb radiation, but that does not make the panel equivalent to underfloor heating. Shading, tiles and existing structures affect what you feel underfoot. A mirror may also receive insufficient radiation to prevent condensation. Assess separately whether mirror heating or underfloor heating is needed.
Finish and lighting
Use surface mounting, recessing or installation in a ceiling grid only when the exact model is approved for it. A combined panel with lighting requires checking both functions, connections and controls. A single connection point or independent lighting control is not available on every version. Keep components accessible for maintenance.
Determining output and warm-up time
Record the bathroom dimensions, ceiling height, external walls, glazing, insulation, ventilation and desired temperature. State whether existing underfloor heating or radiators will remain in use. A heat-loss calculation supports output selection; a fixed value per square metre does not account for all these conditions.
Compare one panel with several panels in terms of positioning and distribution, not just total wattage. Also check exact product dimensions, fixings and all clearances so that each chosen version fits its planned position. More output does not automatically mean lower consumption. Warm-up time depends on factors including starting temperature, thermal mass and use. After commissioning, check whether the programme provides the desired comfort in time in practice.
Choose a compatible thermostat and receiver with sufficient switching capacity. Have the sensor measure in a representative, permitted position and prevent direct influence from the panel. Wireless does not mean the heater needs no power cable. Coordinate the controls with any other heating so the systems do not unintentionally work against each other.
Preparation and mounting
Check the supporting structure above the finish and use the specified brackets, fixings and locks. Plasterboard or a ceiling grid does not automatically have sufficient load-bearing capacity. Maintain the specified rear clearance and distance from other components. Route cables so they cannot be pinched or unintentionally exposed to heat.
We support private and business end users, installers and wholesalers with product selection and project preparation. Send a floor plan, ceiling details and photographs of the shower, bath and connection points. Record which work the installer will undertake and which documents and settings will be handed over at commissioning.
Check the result in use
Test heat distribution, thermostat, lighting and ventilation together. Remove the existing radiator only once it is clear that the new arrangement can provide the required heating and the effects on the existing system have been assessed. Keep the panel clean according to the manual and have damage or loose components investigated.
Frequently asked questions about ceiling heating
Must the panel hang in the middle of the bathroom?
Not necessarily. The correct position follows from permitted mounting locations, distances, places of use and obstructions. Coordinate it with lighting, extraction and maintenance access too. Positioning above the shower exit is not a general rule or automatic permission for that location.
What determines electricity consumption?
Input power and total operating time determine consumption. Even after the initial warm-up, the panel may continue switching to compensate for heat loss. Compare costs at equivalent comfort and include all heating used. Without such a comparison, a savings percentage cannot be substantiated.